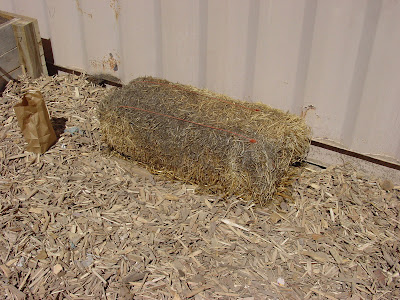
This weekend, I built a small worm bin for the compost site. The bins we already have here are on the north side of the office. This is to keep them as cool as possible in the summer. But in the winter, the poor critters freeze and become hard to harvest. So, after much cajoling from the bosses, we decided to put a smaller bin on the south of the office for winter time harvesting. (Let me clarify now that worms are productive year round, though they are more lethargic in weather extremes, i.e., winter and summer. Given the right environment they will manage your waste very efficiently all year.)
The first thing to do is choose a location for a worm bin. As I said, we chose a spot in the garden that would be sunny in the winter but shaded in the summer. We have also found that an in-ground system is the easiest and best insulated.
After we have agreed upon an appropriate location, I start by digging the hole.

The hole size depends solely on the available space and the anticipated volume of waste generated. I like to line the hole so that dirt doesn't fall back in. For the lining, I go to my trusty recycled limber pile and pull out what I'll need.

I also dig it deep enough so that the worms have room to move to an area to their liking. In this case, I dug it 14" deep to have plenty of room below the freeze line.

Once the hole is dug, and after I build the frame, I place the frame into the hole. I want the edges to be close to ground level.

Into the frame goes the worms generously donated by a neighbor, taken from another bin, or purchased from us (or Gardener's Guild in ABQ).

I then fill the remainder of the bin with yummy feedstocks. This material can be anything readily available. I used mouldy straw and horse manure.

Almost done!
Since this is a bin constructed for winter harvesting, I put an extra layer of insulation, in this case an old straw bale. A little mulch to make it all attractive, and Voila, we have a worm bin.

No comments:
Post a Comment