Showing posts with label red worms. Show all posts

Thursday, January 06, 2011

New Worm Bin

I know I am a compost dork. I had a real reminder of that this last week.

I am moving into a new apartment. What do you think I set up first? The shower curtain? The computer table? No. I saw that I needed a recycling center first. Moving generates a lot of trash, or I should say it generates a lot of unwanted discards: paper from unpacking, cardboard from the new coffee maker, coffee filter, the paperboard six pack holder, orange peels, etc.

Here is a picture of my simple worm bin.


It's just a 5 gal. bucket with some worms and bedding at the bottom and various organic discards thrown on top. As it dries out, I pour undrunk coffee (a rarity I can assure you), and used dish water. The bulky cardboard I hope will be compressed as more material gets dumped on top.


As you can see, nothing fancy, but it erases the constant chagrin I have when faced with throwing away perfectly good waste.

Moving is usually a time of reflection. A chance to change things that I've always wanted to change but couldn't find the time to do so. I have a long road ahead to make an environmentally healthy living area out of my new small apartment, but at least I got the important thing out of the way.

Wednesday, June 16, 2010

Vermicompost for Sale


Every six months or so, we clean up our worm beds. When the beds contain more castings than fresh food for the worms, it becomes toxic to the worms. They become lethargic, get smaller and, if left alone, will die. So we dig the worm castings out and replenish the feed stocks. This year I used a combination of leaves and grass clippings. After I dug out the bin, I passed the material over a 1/4" screen to get most of the worms out and to separate any large or uncomposted material from the fine particle sized casting. The worms and the larger pieces go back into the bin while the finer material goes into the garden. Or if you want, it can go into YOUR garden. We have a limited amount until this fall, so get it now. One cubic foot bags sell for $10. bring your own 5 gal bucket and save $3.


Hope to see you soon.

Friday, October 09, 2009

Harvesting Vermicompost

I usually clean out my worm bins a couple of times a year. The goal is to remove the worm castings and to replenish the organic content of the bin so that it can spend the winter regenerating more worms without being disturbed. Then in the spring when there is a rush on worms at the compost site, this bin will be ready. In the spring, I will screen another bin as a back up. This way I pertually have a bin full of worms to harvest.

It is fairly easy to determine which bin to screen. When the contents of the bin are homoginously dark black and virtually devoid of worms, it is time to harvest. The vermicompost is the waste from the worms, their excrement. As with most creatures, their own excrement is toxic to them. When the bin contains more of their waste then of food, they either move on or die.


Shovel the material into a screen. I vacillate between screening and not screening. I suppose it depends on the application. Screening allows for a finer material, so if you are going to topdress houseplants or a lawn, then I would screen it. If there are lots of undigested particles, if the material has trash in it, then I would screen it. If it's just going into the garden as a soil amendment or if it is already exceptionally fine, then screening is not necessary.

If it is going to be screened, you will need to build a screen. Obviously the size of the mesh determines the size of the finished product. I usually use 1/2" hardware cloth available at all hardware stores. Chicken wire works fine, too; whatever's available. A couple of 2 x 4's and some staples are all you need to finish the construction of the screen.


After you've screened it, you'll be left with two products: what we in the biz call overs and unders.


The unders (that which falls through the screen) is what you are after. I make a quick check to see if any worms fell through and toss any I find back into the bin. The unders are ready to use now in whatever fashion you deem fit.

The overs are then picked through for any trash, rocks, or worms...


and put back into the bin for further composting.


Then I fill the bin back up with readily available organic material, in this case, horse manure. (At home, I don't fill the bin up immmediately. Rather I fill it as kitchen and yard waste become available.)


I water the material and clean it up all nice and pretty. It should be teeming with worms in a month or so.

Saturday, September 26, 2009

Constructing a Worm Bin

Hopefully by now, many people are aware of the wonders of redworms. These little guys happily eat foodwaste (or any other organic waste) quickly without demanding much from us. Unlike humans, they only eat what won't kill them and they reproduce only as food and space allow. On top of that, the vermicompost they secrete is biotically dense and beneficial to soils and plants.

This weekend, I built a small worm bin for the compost site. The bins we already have here are on the north side of the office. This is to keep them as cool as possible in the summer. But in the winter, the poor critters freeze and become hard to harvest. So, after much cajoling from the bosses, we decided to put a smaller bin on the south of the office for winter time harvesting. (Let me clarify now that worms are productive year round, though they are more lethargic in weather extremes, i.e., winter and summer. Given the right environment they will manage your waste very efficiently all year.)

The first thing to do is choose a location for a worm bin. As I said, we chose a spot in the garden that would be sunny in the winter but shaded in the summer. We have also found that an in-ground system is the easiest and best insulated.

After we have agreed upon an appropriate location, I start by digging the hole.


The hole size depends solely on the available space and the anticipated volume of waste generated. I like to line the hole so that dirt doesn't fall back in. For the lining, I go to my trusty recycled limber pile and pull out what I'll need.


I also dig it deep enough so that the worms have room to move to an area to their liking. In this case, I dug it 14" deep to have plenty of room below the freeze line.


Once the hole is dug, and after I build the frame, I place the frame into the hole. I want the edges to be close to ground level.


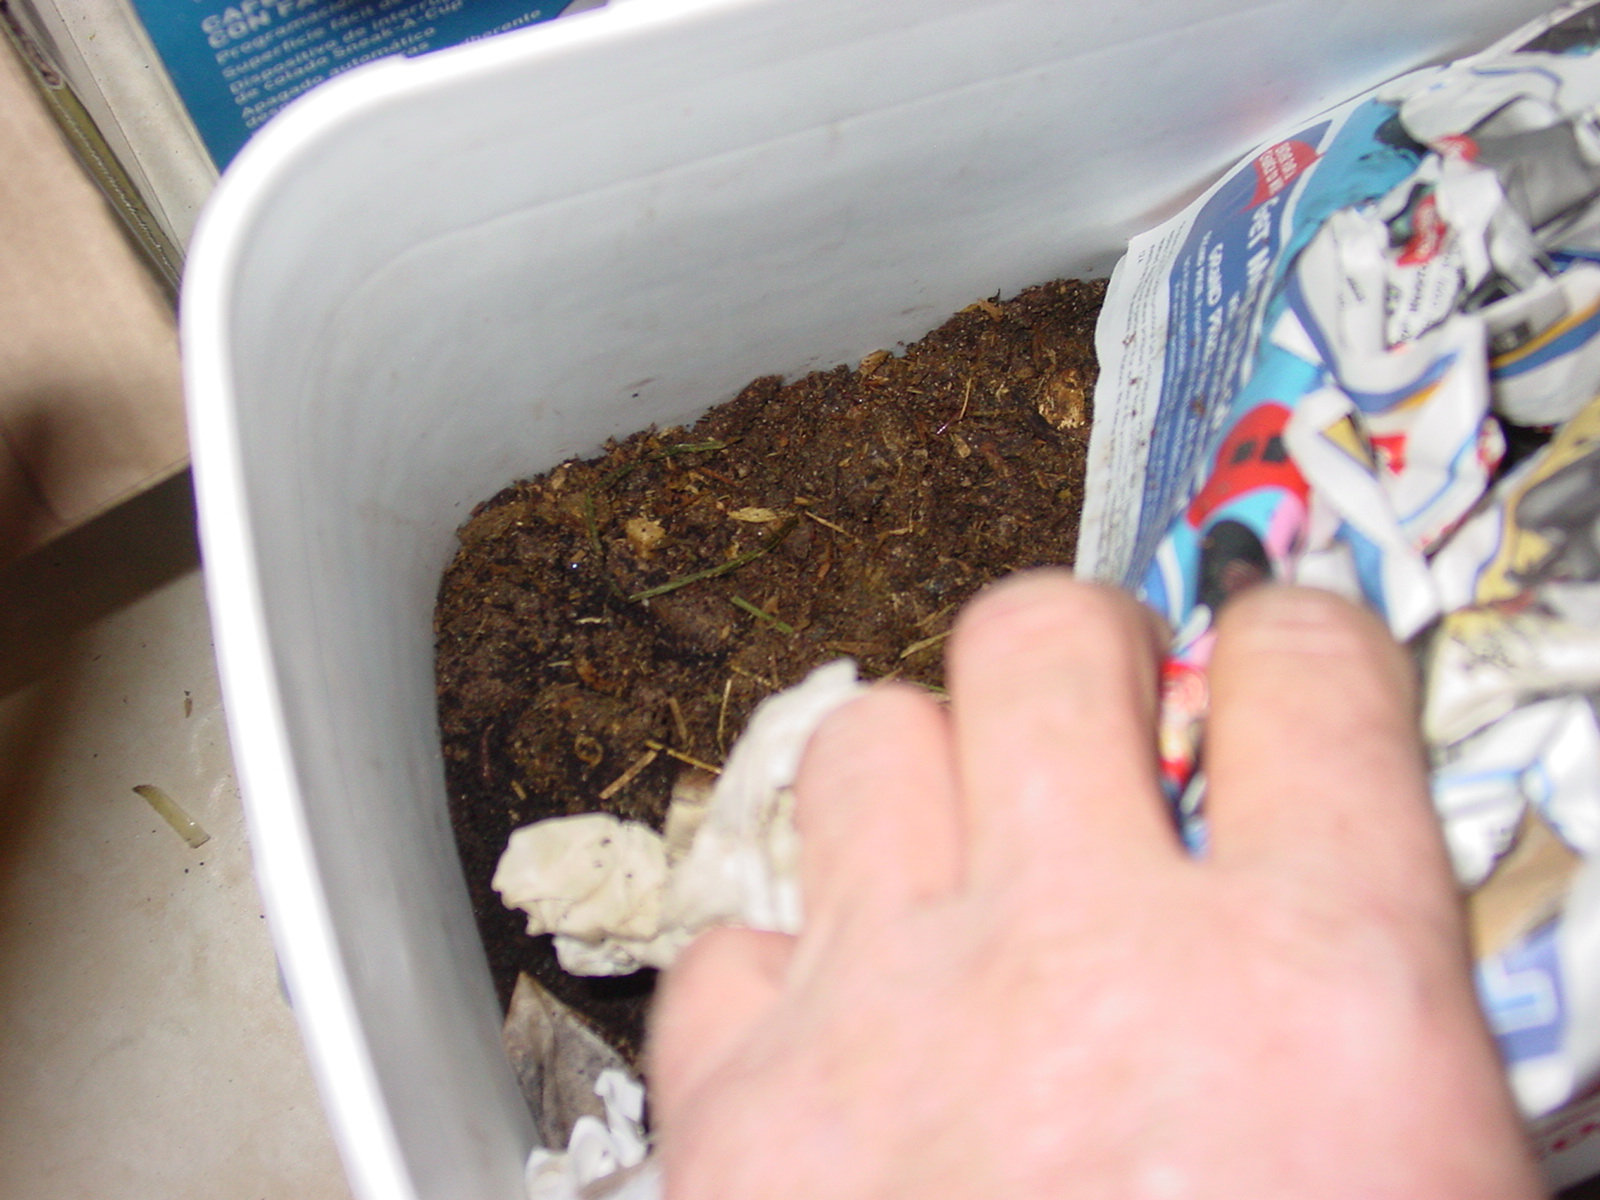
Into the frame goes the worms generously donated by a neighbor, taken from another bin, or purchased from us (or Gardener's Guild in ABQ).


I then fill the remainder of the bin with yummy feedstocks. This material can be anything readily available. I used mouldy straw and horse manure.


Almost done!
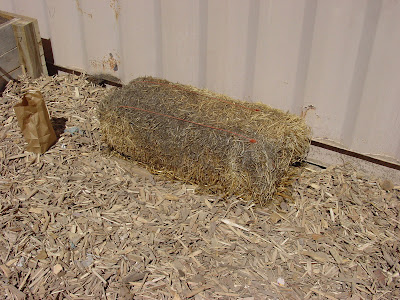
Since this is a bin constructed for winter harvesting, I put an extra layer of insulation, in this case an old straw bale. A little mulch to make it all attractive, and Voila, we have a worm bin.